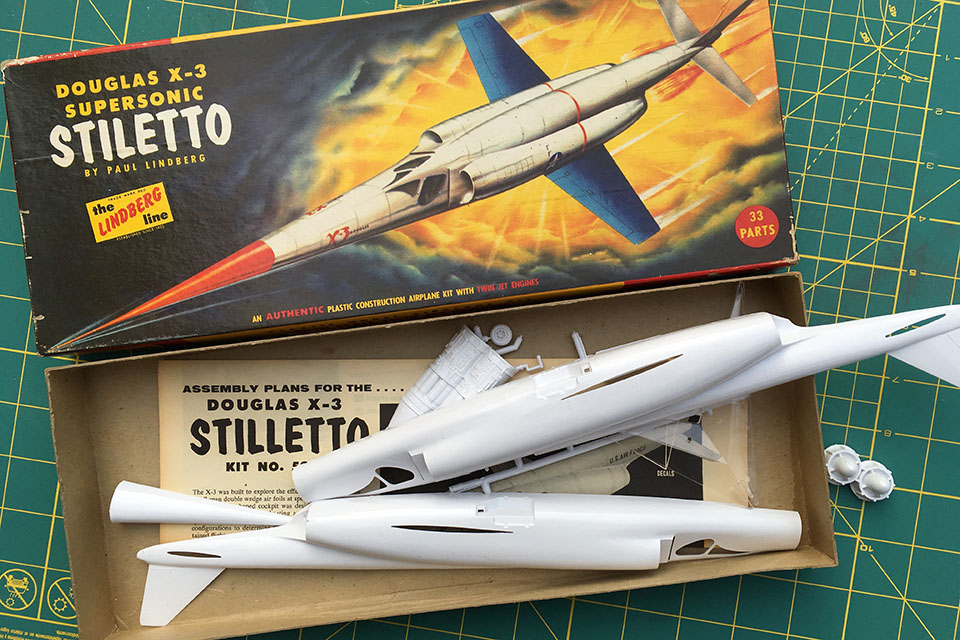
In the interest of full disclosure, let me say this up front: The Lindberg X-3 is a dinosaur of a kit. With the exception of a fresh set of decals, this model is exactly the same as when it was first released in the late 1950s. At the time many models were merely toys that you could put together, rather than the detailed reproductions we build today. Amazingly, this kit is one of only a very few offerings of this sleek, futuristic X-plane. Perhaps its lackluster performance in the air is a reason it has not been a more popular subject. Nonetheless, we’ll give it a try. Dust off the parts box, and get your scratch-building skills in order.

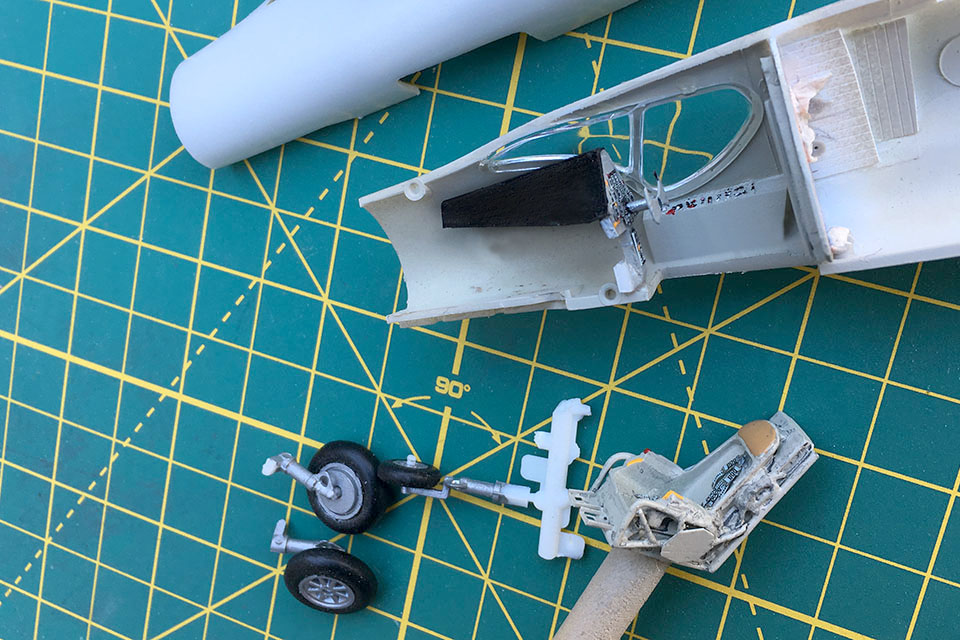
First things first, the cockpit. A well-stocked parts box is essential here. There isn’t a traditional “canopy” (the airplane had a unique downward-firing ejection seat that is also part of the system that lifts the pilot, seat and all, into the cockpit). Measure and cut away an opening in the bottom of the fuselage beneath the cockpit area. Research material at this point is invaluable. The book Skystreak, Skyrocket, & Stiletto: Douglas High-Speed X-Planes, by Scott Libis, is an excellent resource.
Side consoles and the forward instrument panel come from the parts box. Stock plastic sheet will form the coaming over the forward control panel. You will have to fashion a yoke instead of a stick. The seat needs help as well. Stretched sprue or wire form the “cage” that surrounds the seat. Once you’ve added a harness and seat belts, the completed seat will be attached to rails that extend down from the rear cockpit bulkhead. You’ll have to build that bulkhead as well. Set aside the seat for now, as it will be one of the last steps in completing the jet.

The intakes are just simple holes in the fuselage. Thin plastic sheet can help create the illusion of an intake “trunk.” Go ahead and assemble the engine. While you could cut open panels to show off a nicely detailed power plant, you’ll be better served by using it for structural support. The jet also needs a pair of exhaust cans, an easy scratch build from the plastic barrel of an old ballpoint pen.
The thin high-aspect-ratio wing of the Stiletto was smooth and sharp. You’ll want to sand down some of the heavy raised detail. The wing is designed to be inserted from the inside of the fuselage through two slots. This should be your last step as you bring the fuselage halves together. Don’t forget to pack the nose with some weight to get the aircraft to sit on its landing gear correctly. The fit will need help, so filling and sanding will take up a little time. Remember the kit is more than 50 years old!
The insides of the landing gear bays are a natural aluminum color, as is the gear. This is another area that would benefit from some scratch building and additional detail. After all that hard work with the cockpit, it’s up to you.
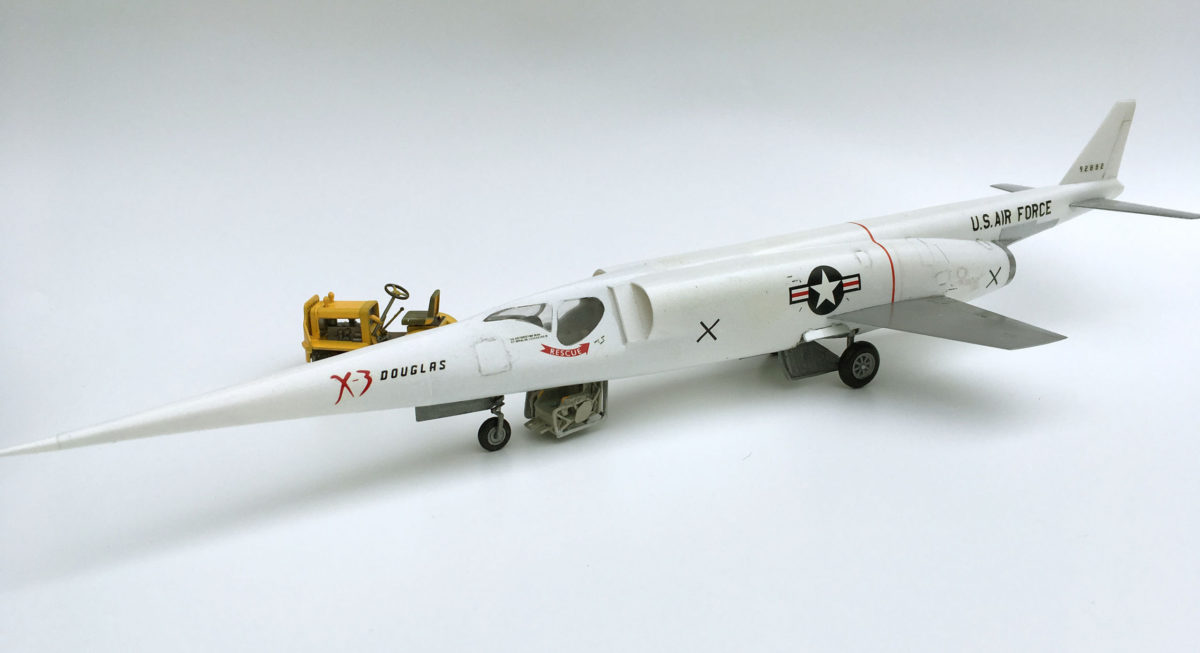
I prefer to paint the glossy white finish of the fuselage first, sealing it with a coat of gloss. I find it easier to mask off the fuselage in order to paint the wings their natural metal color. Overall the X-3, like other X-planes of the time, had a clean glossy finish. There would have been little weathering at all. Check your references when it comes to markings. The X-3 flew tests for both the U.S. Air Force and the National Advisory Committee for Aeronautics (NACA, NASA’s predecessor), so there are minor differences in markings. There were also minor changes depending on just what was on the “test card.”
With markings applied and another coat of gloss finish, your X-3 is ready for the dry lakebed at Edwards AFB. You can see the real deal, the sole X-3 built, in the Research & Development Gallery at the National Museum of the U.S. Air Force in Dayton, Ohio.

